Comment éviter une mauvaise adhérence dans les applications de colle pour carrelage
This article is going to explore the most common reasons why tiles aren’t holding up and how to avoid this issue.

1. Three External Factors You Need to Check First
1.1 Expiration dates of the tile adhesive
Please check the expiration date on the packaging before use to ensure product quality and effectiveness.
To avoid unnecessary losses, we suggest you check the expiration date as soon as you receive the products.
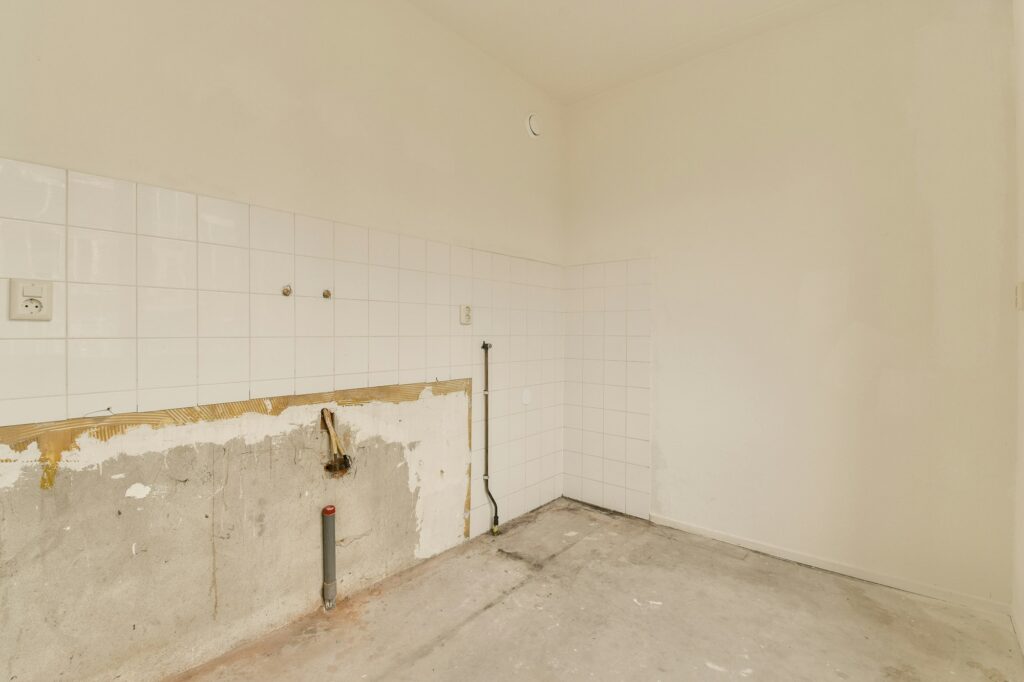
1.2. Substrate Preparation
The substrate should be solid and firm with a tensile strength of at least 0.4MPa.
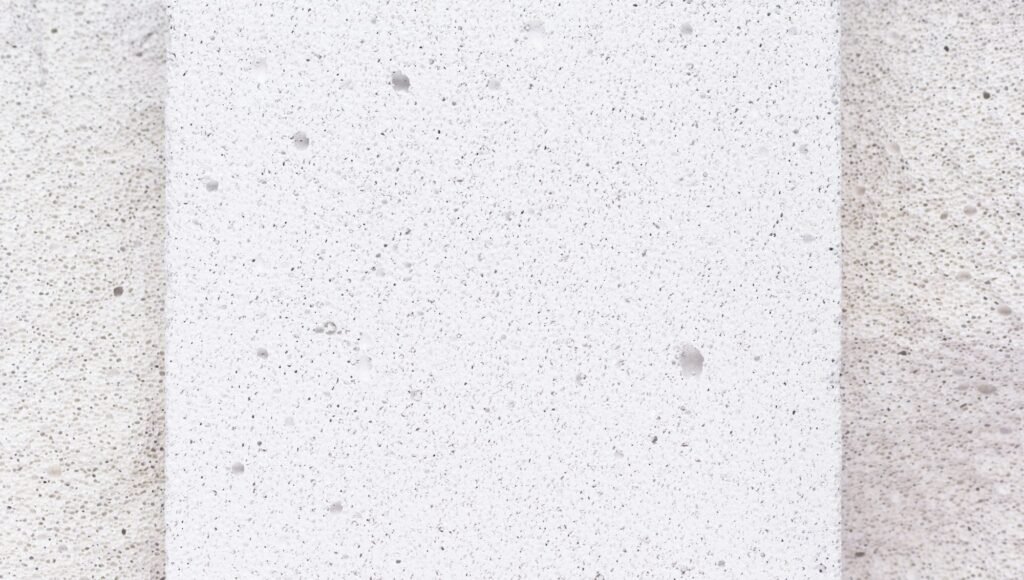
While tiling on substrates such as aerated concrete, lightweight wall panels, and EIFS, you may need to take some measures to ensure the adhesive quality. We recommend starting with the compatibility test as well as temperature and humidity adjustment.
The surface should have a flatness deviation of no more than 3mm, while the deviation for vertical alignment for walls should not exceed 4mm.


1.3. Mixing Ratio of the tile adhesive
An improper formula can lead to both performance and quality issues. It may cause adhesive failure.
You can check our reference formulas in another article: Les 6 ingrédients essentiels des formules de collage de carrelage.
2. Three Common Operation Errors During Installation
2.1 Exceeding the Time Limit
Start Tiling After the Open Time
- The tile adhesive begins to lose its optimal bonding properties once open time has passed. As the surface forms a dry film due to moisture evaporation, this can result in poor adhesion or even detachment.
Tiling should be carried out within the adhesive’s open time. Please press the tiles firmly to ensure the tile adhesive is dense and compact.
Adjust Tiles After the Settling Time
- The tile adhesive begins to set and harden during the settling time. Once this period has passed, the adhesive can no longer accommodate movement. Attempting to adjust tiles at this stage can break the bond, leading to poor adhesion or air bubbles.
If you need to adjust the position of the tiles, please remove the tile adhesive first and then re-tiling.
2.2 Insufficient adhesive coverage
Insufficient adhesive coverage, especially for large format porcelain tiles, indicates that workers may pull off tiles too much during installation. This may cause the adhesive layer to separate, leading to bubbles, reduced adhesion, or even detachment.
Please spread accurate and enough adhesive during tiling. While adjusting, it is better to use a hammer to tap on the tile. This can also help eliminate air gaps trapped between the adhesive and the surface.
For your reference, the thickness of the tile adhesive should not be less than 3mm, and the adjustment distance is about 25 percent of the tile adhesive.

2.3 Excessive tiling area
If the tile adhesive is spread over too large an area each time, especially in hot, dry weather, its surface may lose moisture, compromising bonding performance.
To avoid that, you may consider:
Reduce the tiling area.
Remove the tile adhesive if it is no longer sticky when touched, and reapply fresh adhesive to the substrate.
If the adhesive is too thin, please add more to achieve the required thickness.
3. Conclusion
We must emphasize that once the tile adhesive has dried after the settling time, it cannot be reused, even if water or other additives are added.
- These are the common causes of tile adhesive poor adhesion and the methods to avoid such issues. If you have more detailed questions, please feel free to contact us. Our team is happy to assist you with any further inquiries and provide expert guidance to ensure a successful tile installation. We are committed to helping you achieve the best results with our additives such as HPMC.


